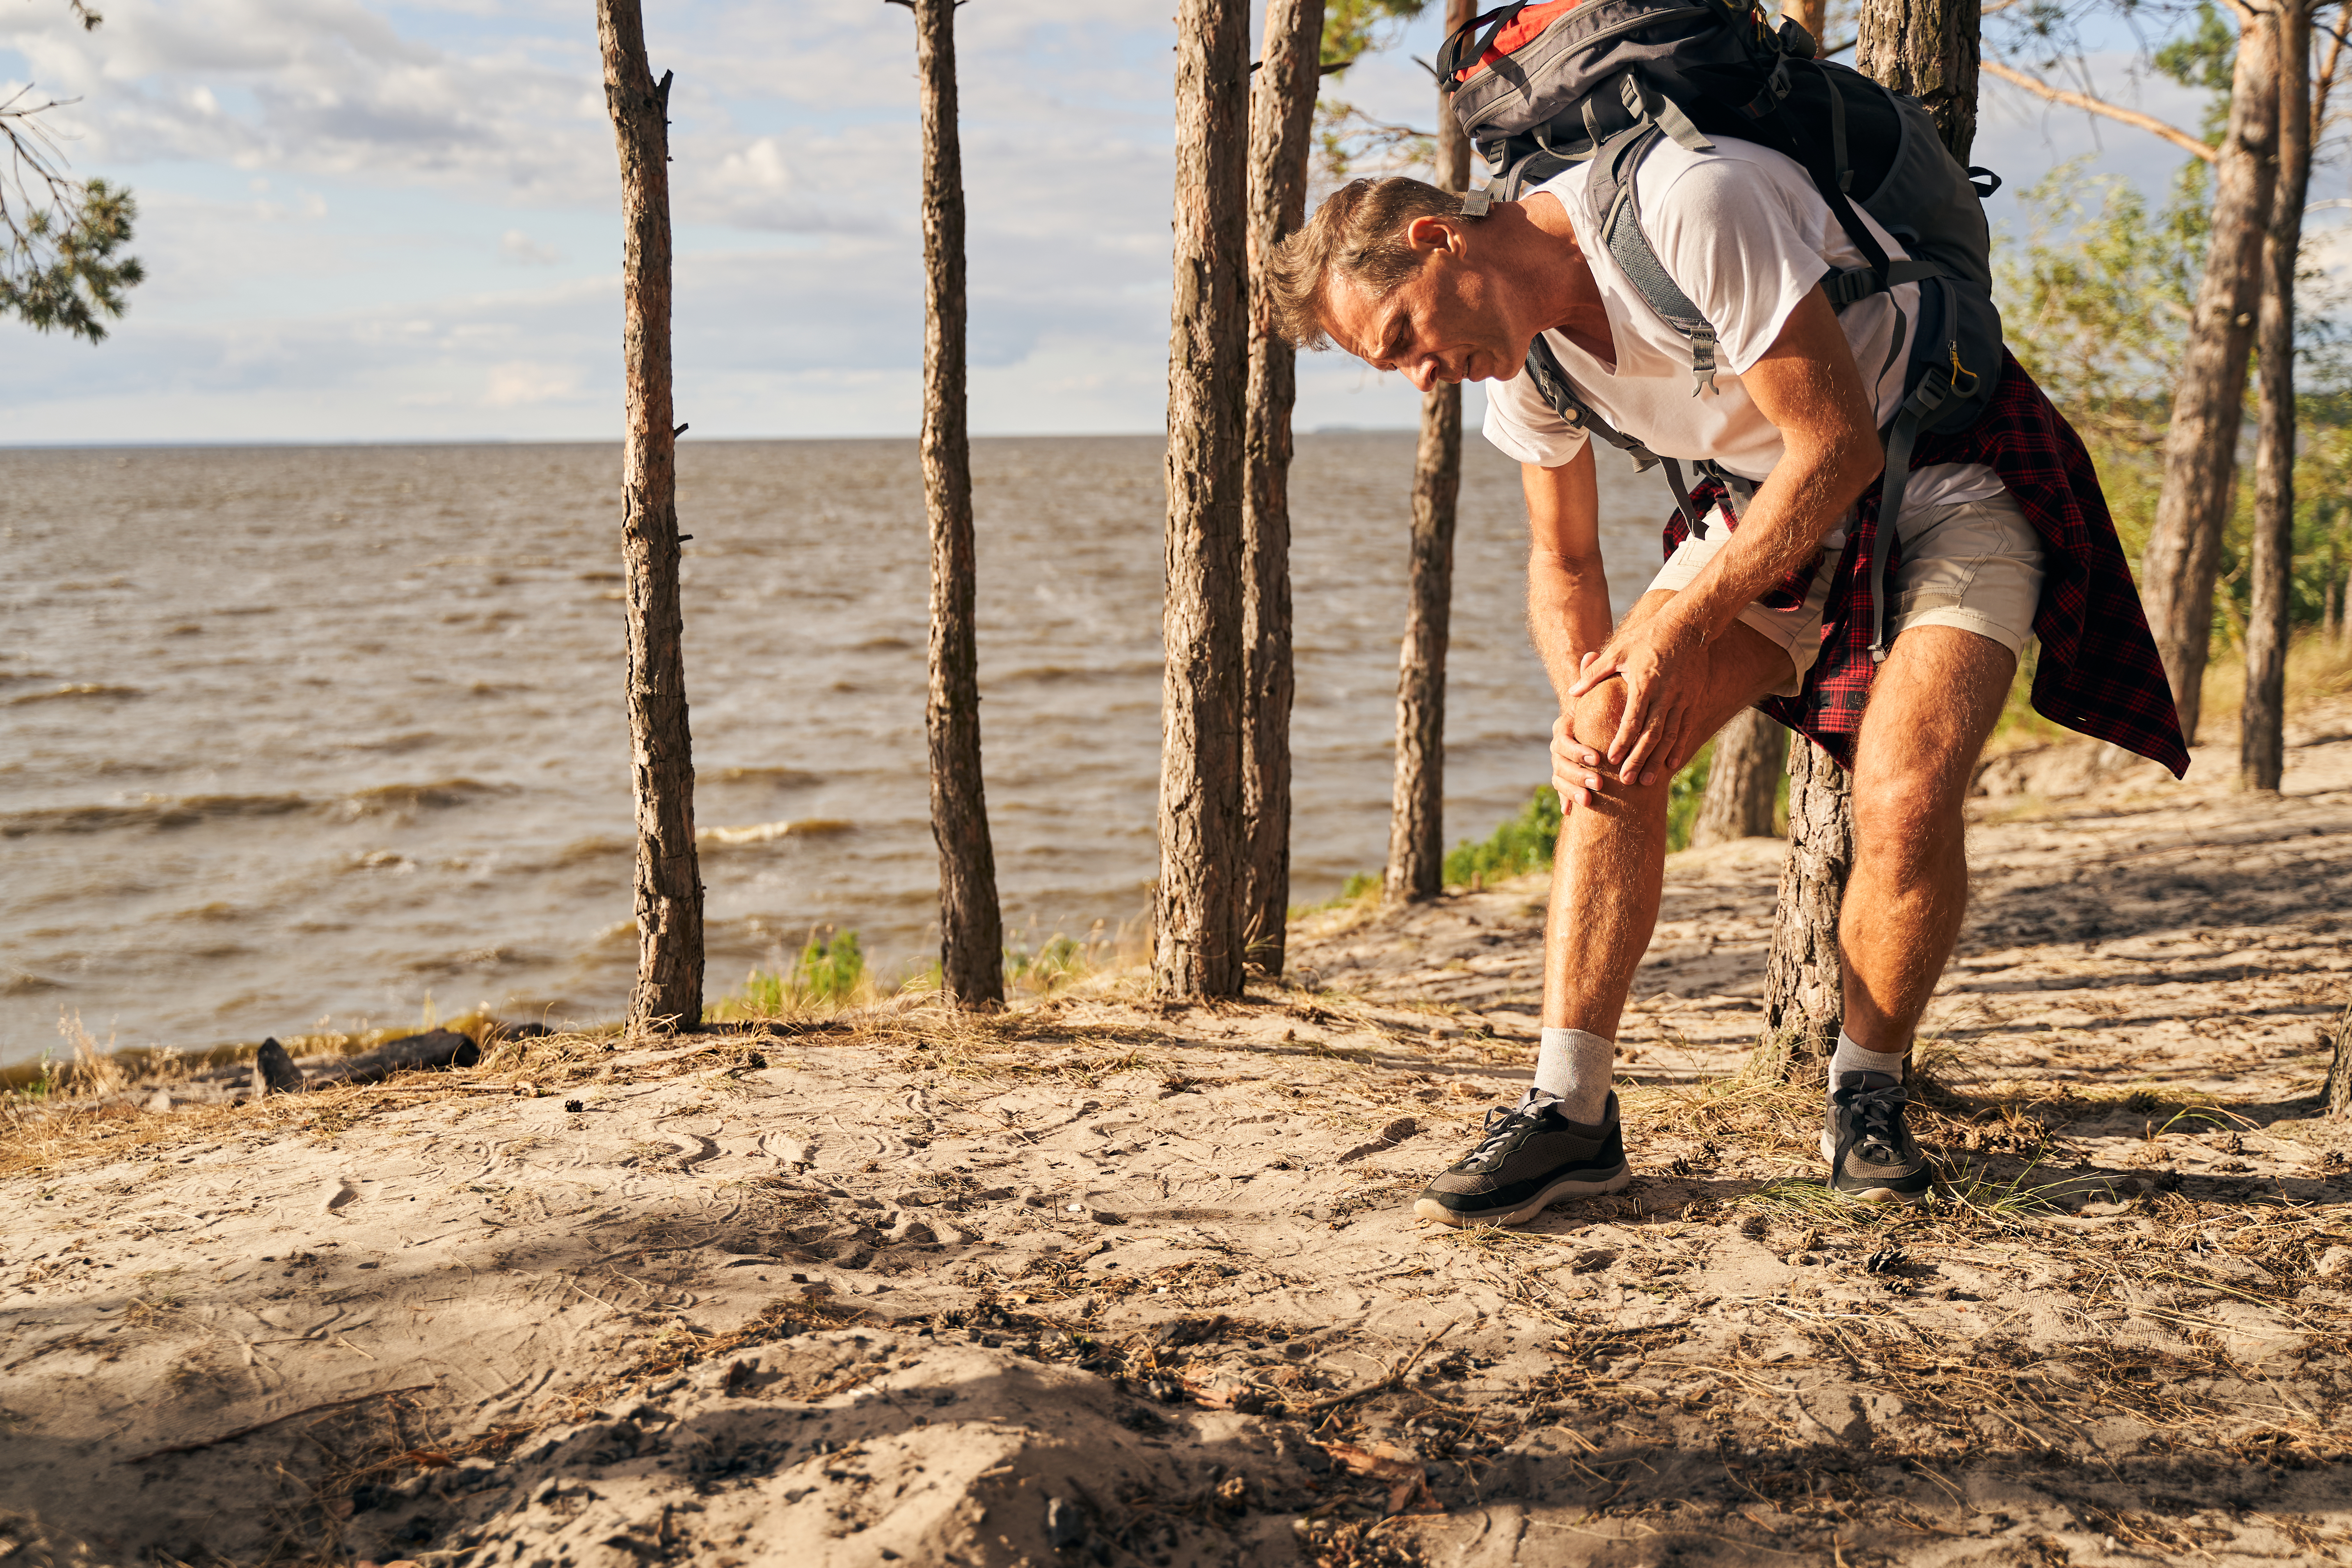
Injuries can be unexpected, they can be frustrating and you can sometimes feel lost over what to do about them. What’s more, there’s so much conflicting advice, and many healthcare professionals tackle the symptoms rather than the cause of your injury. Not to mention, if you live in the UK like me and use the NHS, you could be waiting months before you’re seen.
All this means time away from the trails…or NOT! Because as a hiker, if you’re anything like me, our drive to be in the great outdoors often makes us push through the pain even when we know we shouldn’t be out there.
In this post, I’d like to discuss the basics of remaining injury-free while hiking. It’s a deep topic and there is a lot to understand so I won’t go into everything, but by the end, you’ll come away with some actionable steps to improve your chances of remaining injury free or even curing those little niggles you already have.
Why You Experience Pain
There are 3 main ways you could experience problems with your body that can lead to pain:
- Disease/Pathogens
- Trauma
- Muscle Compensations/Overuse injuries
For anyone who’s had covid, you know how it can make you feel terrible and create pain where there wasn’t pain before. The same goes for more serious diseases.
Trauma pain will be from an obvious injury. For example, an impact from a car crash or even just falling or spraining your ankle. You are aware it happened and your pain is a direct result of the impact you had. I won’t be covering trauma pain in this article as I would assume that you are already seeking medical help for this kind of injury and it can be highly specific.
What I’d like to focus on in this article is pain from muscle compensations and overuse injuries

What is muscle compensation pain?
Your brain is a master of compensation. The primitive part of your brain is constantly making tiny adjustments to your body (without you realising it) to fulfil its primary function – to keep you alive.
Everything comes back to keeping you alive!
When your brain is regulating your body the following are two things that it “considers”:
- Efficiency (not wasting valuable energy).
- The hierarchy of body tissues – muscles, connective tissues (bone, tendons, etc…) and nerves – i.e. which ones the brain cares about most in order of importance.
I’ll refer to both of these things when I provide explanations in this article.
You can see that this stuff starts to get complicated very quickly, so let’s simplify things…
How Modern Life Affects Us
In modern life, the majority of people lead sedentary lives. Most people spend the day sitting at work, sitting on the way home in the car, and then sitting in front of the TV during the evening. If that’s not you, then congratulations, but I’m going to assume that you spend some hours sitting during the day at least.

Now, a question…have you ever felt tight, stiff or inflexible?
If you have, this is just your body’s adjustment to your lifestyle. If you spend a lot of time sitting, then it makes sense to adjust your body to be more efficient in that position – remember I said that it cares about saving energy. So all the muscles in the front of your body tend to get shorter and feel tighter. Especially your ankles, hip flexors and chest muscles.
When you then go to stand up, your body feels tight and is probably a little hunched forward – even if you don’t realise it.
From your brain’s perspective, it was doing you a favour even if you don’t see it that way. And if you now want to do something active, you’re not going to move as well.
Unless you prepare your body for movement after sitting for long periods, then there’s a higher chance of injury.
It’s highly likely that your body will now compensate for this now “default” position.
Here are some common compensations:
- Muscles doing more jobs than they were supposed to.
- More pressure on joints.
- Pressure, pulling or rubbing where it wasn’t before.
All of these can lead to pain!… Ouch!
Here are some simplified examples:
Muscles doing more jobs than they were made for
If a certain muscle becomes short and tight then it might not be doing the job it used to do.
Other muscles take over. This means that they could be overloaded and sometimes it can become too much and cause pain.
At the same time, if this muscle is now being worked more, the muscle it took over from could be left behind and get weaker. You could also feel pain in this muscle when this happens.
More pressure on joints
Muscle tightness can also put pressure on joints. The lower back area is one of the most common areas to feel pain and most of us have experienced it at some point. Let’s say the hip flexors in the front of your body are tight from sitting…when standing you could be slightly hunched forward (even by a few millimetres) which isn’t a very efficient position now.
While standing your body might make a slight compensation by arching your lower back just a little to adjust back to being more upright. See how that works? Now you might feel some pain there in your lower back. Maybe not instantly, but over time you may.

Pressure, Pulling Or Rubbing Where it Wasn’t Before
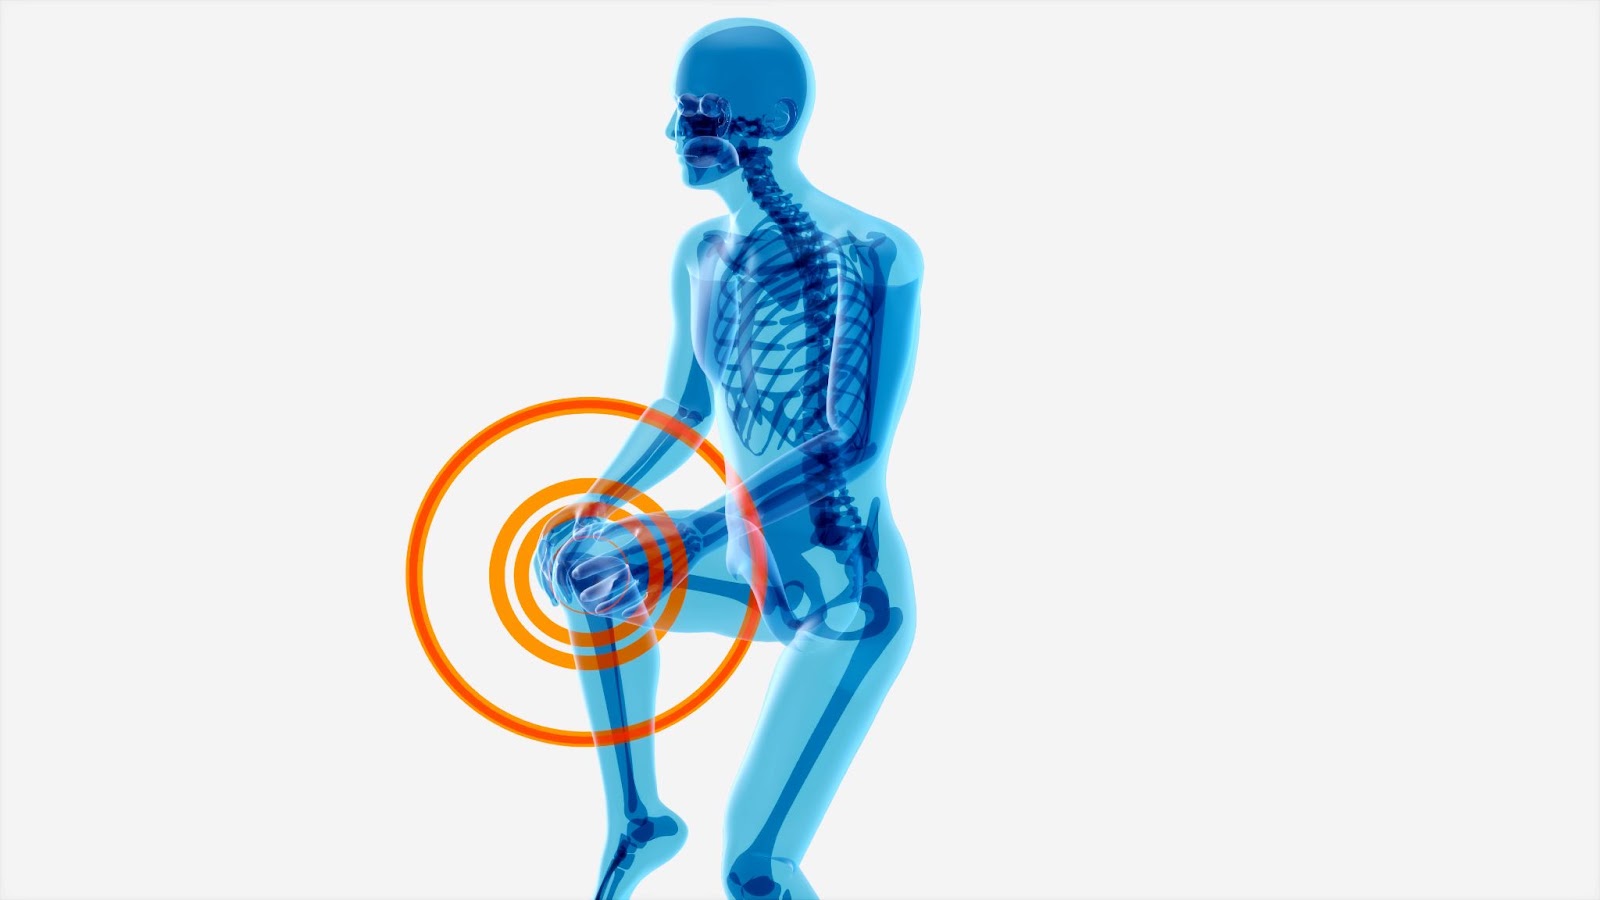
A tight muscle might pull on a tendon. You could feel pain there, or the tendon could pull on a bone which could also cause pain. An example of this is in the kneecap from tight quads. There can be tension which results in pain.
Here’s an example of a bigger chain reaction…one side of your hip may be slightly tight and hitched up which shortens your leg by a few millimetres. Your body might then compensate the other leg by dropping your opposite knee in a bit to even the leg length out – or even drop your foot in a little.
Ever heard of flat feet? They are often caused by a compensation from tight hips – that’s why it’s so important to treat the body as a whole and work on the cause of pain rather than where the symptoms might be coming from.
Muscle Compensation Resulting Pain Summary
So I hope that’s clear so far. Your body will adjust itself to the most efficient position but then this can cause a chain reaction of compensations. There can often be no apparent or obvious reason for the pain that appears.
It’s important to understand as well that pain might not happen straight away from compensations either. It can be related to bouts of increased activity – for example, a long hike. You may not feel anything if you go for an hour’s walk, but you go on a whole-day hike and you really start to feel it. And sometimes only after!
What a lot of people find though is that the problem can become worse over time. That niggling pain that used to come after the hike now starts during it. Or that feeling that you got in your leg during long hikes, now comes during a short walk.
Now you’re frustrated and annoyed that you can’t do these things you love!
So now I’d like to give you a few options to increase your chances of staying injury free.
Exercises To Prevent Hiking Injury
I’d like to split the exercises into the 4 sections below:
- Pre-Hiking mobility
- Accessory muscle strength
- Post-Hike mobility
- Major muscle strength
The requirement for these exercises is not black and white – you can do some of them, but the more you do, the better results you will get. I’ve also listed them in order of importance. For example, don’t prioritise post-hike mobility over pre-hiking mobility.
1. Pre-Hiking Mobility
When you do the following exercises is up to you. You may do them at home before leaving for your hike, or you may do them immediately before starting the route. If you are travelling a long distance by car to reach the start of your hike, then anything done at home is likely to be “undone” by sitting in the car. If you are not the driver, then the great thing is that some of these exercises can be done while on the journey.
The first 4 exercises are referred to as muscle anti-spams or muscle energy techniques (METs). These may be very different from things you’ve done before, so follow the instructions closely. They are basically the opposite of stretching. You often feel nothing while doing these techniques, but sometimes you experience a vibration or shaking effect.
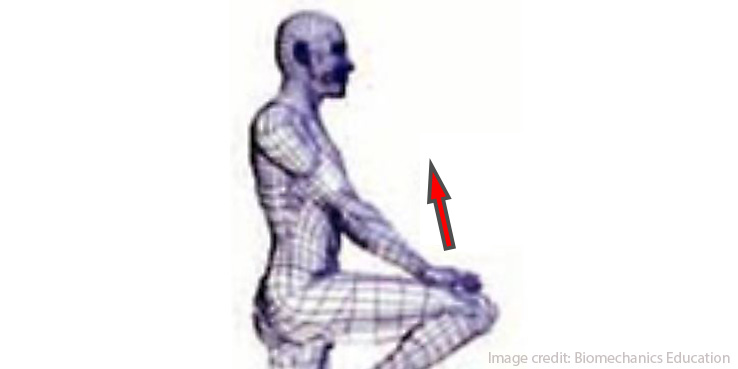
4-Sign Exercise
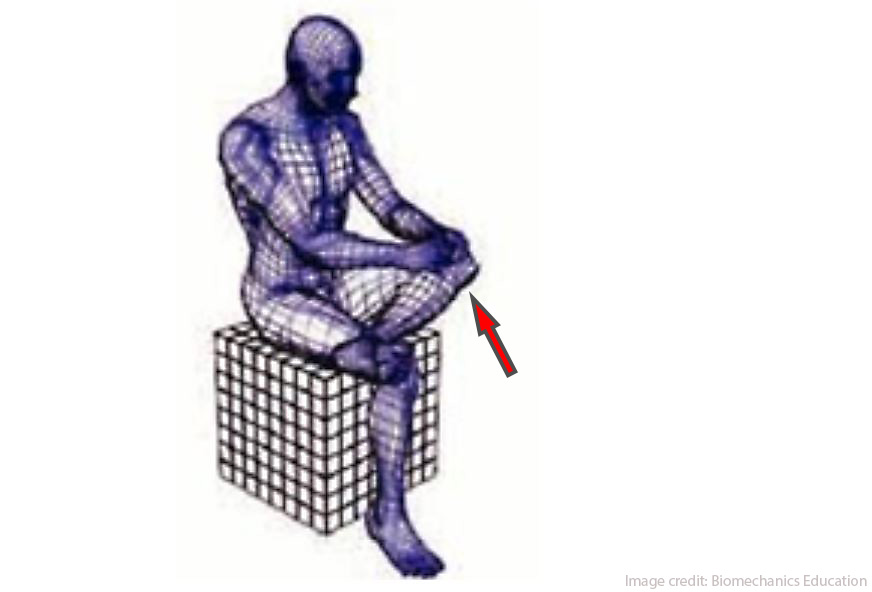
- Sit on a chair and cross one ankle over the opposite knee as in the picture.
- Place one or both hands on the inside of your knee.
- Rotate the top leg into your hands so your ankle presses down into the knee of the opposite leg. Rotation is at the hip joint (Think about the hip, not the leg or knee. The hands are just there to block the rotation).
- You will notice that the knee wants to lift if you are doing it correctly. The hands are in place to prevent this from happening. Press using 20% of maximum effort from the hip – just enough to engage the muscles.
- This is a static contraction, so make sure the leg does not move.
Hold for 20 seconds and do 3-4 sets on each leg.
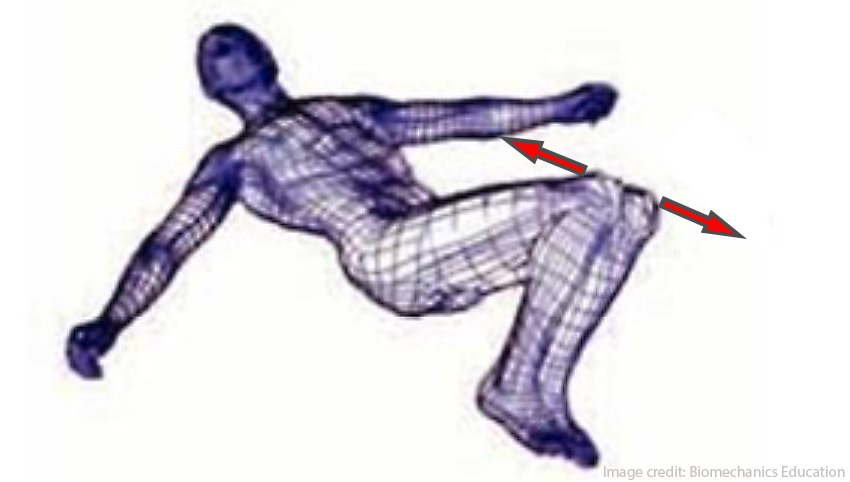
Leg Press Exercise
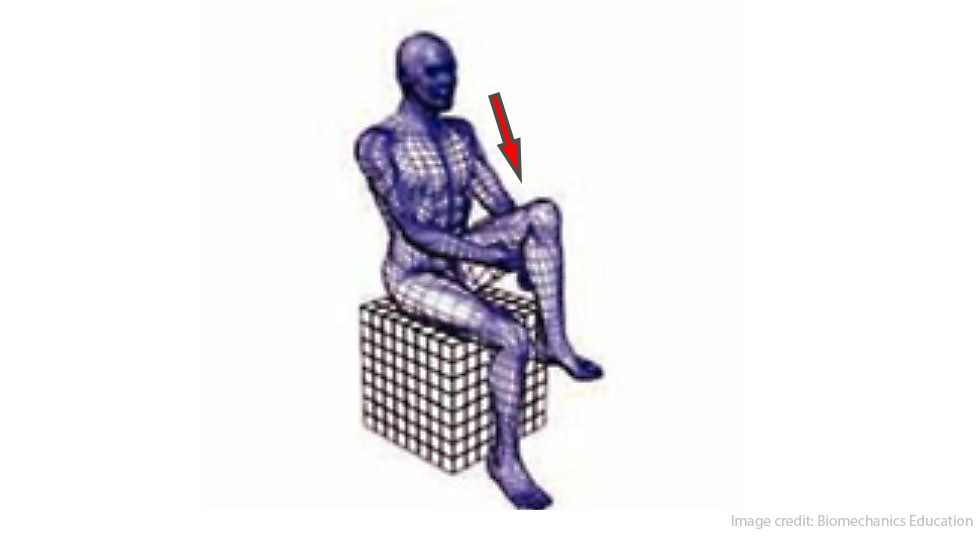
- Sit on a chair and lift your knee towards your chest so the muscles to be released are longer but not stretched and put both hands behind the lower thigh as shown in the picture.
- Let the weight of the leg fall into the hands.
- Then press your thigh down into your hands. Press down with 20% of maximum effort, just enough to engage the muscles in the back of your hip.
- Make sure your leg does not move.
- Ensure knee isn’t extended which engages quadriceps – your shin should be straight down.
Hold for 20 seconds and do 3-4 sets on each leg.
Hip Flexor Exercise
- Sit on a chair and take the weight off one leg by just raising your foot a few millimetres off the floor (not too much as you don’t want to engage the hip flexor muscle too much as it will tire).
- Place one or both hands on the knee of that leg.
- Then use the hip flexor muscle to force the knee upwards into the hand with 20% of maximum effort.
- Remember that the hand is just there to block the upward movement. It should not be pressing down.
Hold for 20 seconds and do 3-4 sets on each leg.
Abductor Press
- Sit on a chair with your feet flat on the floor and place each hand on the outside of the corresponding knee (if your legs/knees weren’t there your hands would be clapping together).
- Now, engage your hips to press your knees outward into your hands with 20% of maximum effort.
- Remember that the hand is just there to block the outward movement. Don’t push in with them.
Hold for 20 seconds and do 3-4 sets. Both legs can be done at the same time with this exercise.
Hip Rolls
- Lay on your back with your knees bent up and fixed together.
- Have your arms out to the side at 90 degrees.
- Keeping the shoulders and arms fixed to the ground, rotate the knees gently from side to side, starting with a smaller range.
- Keep the outer edge of the bottom foot on the floor while the top foot will come away to stay fixed in place next to the bottom one.
- Make sure the knees stay locked together (imagine a piece of tape holding them together).
- The hips must come off the floor as the body rotates.
Repeat for 3 sets of 10 reps. Don’t force the range. Your body will allow you to move more as you gain flexibility.
Shoulder Rolls

- Lay on your back with your knees bent, feet on the floor, and hip width apart.
- Hold hands with the fingers interlocked and arms, wrists locked straight, and push towards the ceiling.
- Keeping your hips and legs still, nose level with the thumb, gently rotate your upper body from side to side, starting with smaller range.
- Take your head with the arm line.
- The shoulders must come off the floor as the body rotates and the elbows must remain extended, wrists locked – always pushing up towards the ceiling as you roll.
Repeat for 3 sets of 10 reps. Don’t force the range. Your body will allow you to move more as you gain flexibility.
Foot Ball Rolling
This is good exercise for stiff feet as it helps loosen fascia and gives your foot a better range of flexibility. It especially helps with things like plantar fasciitis.
For this exercise, you need a solid trigger point massage ball.
- Stand or sit and place the ball under one of your feet.
- Roll the ball around and linger for a few seconds on more sensitive areas.
- Repeat on the other foot.
Spend 1-2 minutes on each foot.
2. Accessory Muscle Strength
Supine Banded Hip Abduction
- Lay on your back with knees bent, feet together and flat on the floor.
- Place a band around your knees (above the knee joint).
- Now take the knees away from each other and you should feel the resistance in your hips as they work to abduct your knees.
Repeat for 3 sets of 10-12 reps daily or as often as you can.
Monster Walks
- Stand and place a band around your knees.
- Slightly bend your knees so that they are not locked.
- In this position, you should already feel tension in your hips. If not, your band may not be tight enough.
- Now, focusing on your feet, take either foot about 20cm away from the other.
- You should feel an increased tension on the hips here.
- To finish the movement, follow with the other foot, so you are back to the start stance.
- Continue moving like this in one direction and then reverse, OR step one way and then back the other.
Repeat for 3 sets of 10-12 reps daily or as often as you can.
Foot Exercises
Foot exercises are a bit more in-depth due to the number of muscles and movements they make.
I’d like to suggest two exercises as a starting point.
– Towel Scrunches
- Sit or stand.
- Place a towel on a slippery floor under your foot.
- Use your toes to flex the foot and bring the towel towards your heel.
Repeat for 25-30 reps on each foot once a day.
- Banded Foot Inversions
- Sit on a chair.
- Loop band on the underside of your foot.
- Keeping your heel on the floor, pull the band outwards away from your body with your hand (or other foot) and hold it there with some tension. You can also anchor it to a hook.
- Then you want to plantarflex and invert your foot…in simple terms, this means to point your toes down and point the underside of your foot towards the inside of your opposite leg.
- By doing this, you should feel the resistance as the band stretches.
- Return to the starting position slowly.
Repeat 10-12 reps for 3 sets on each foot once a day.
3. Post-Hike Mobility
These post-hike mobility exercises are exactly the same as the pre-hike ones above (1). This is the time when you are least likely to think about doing any exercises – You’re tired, driving home, or maybe even sitting in the pub. They are worth doing – even if you can’t do them straight away!
As mentioned, these are the same as the pre-hike exercises, so refer to the instructions there.
- 4-Sign Exercise
- Leg press Exercise
- Hip Flexor Exercise
- Shoulder Rolls
- Hip Rolls
- Foot Ball Rolling
If you’re wondering why these are the same as the pre-hike mobility exercises, it’s because hiking puts your body in a certain position for a long time. It’s also equally important to relax your muscles and stop any stiffness from using your body during the hike.
4. Major Muscle Group Strength
The stronger you are overall, the more tolerance your body is going to have to constant stress on your muscles, nervous system and bones while hiking.
These are some simple lower body exercises that you can do at the gym or even at home to build some strength.
With each exercise you should be progressing each time you do them. To do this you either increase weight (resistance), reps or sets over time.
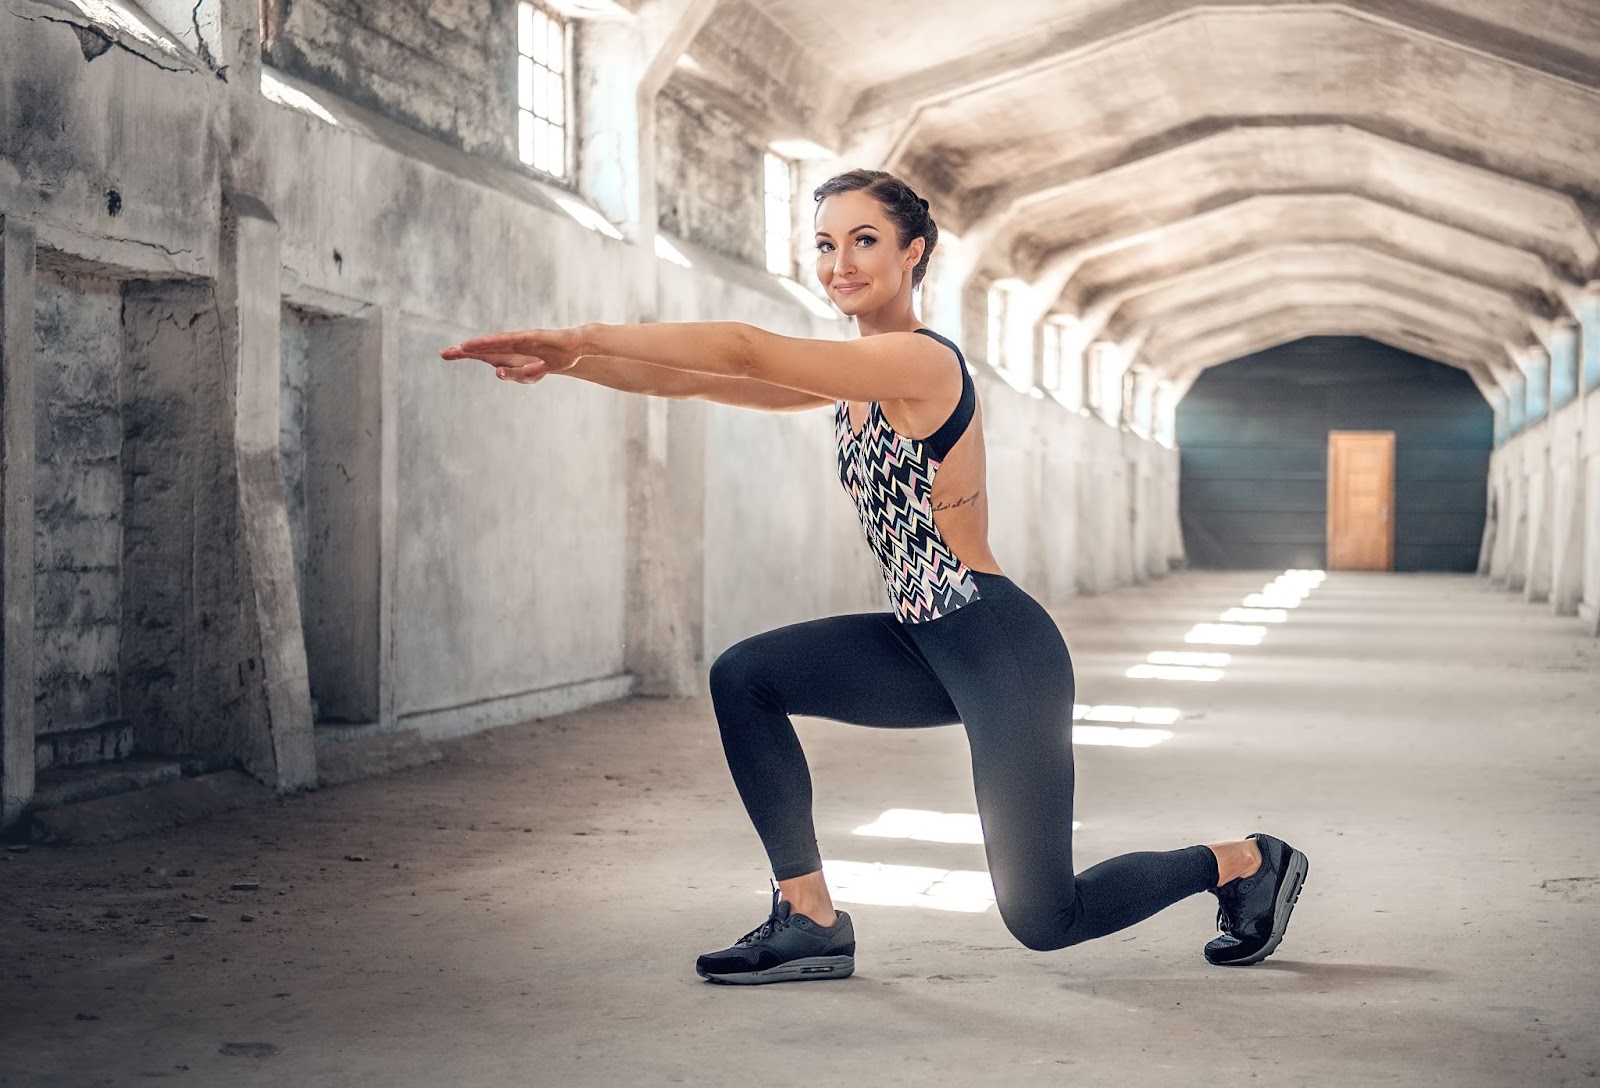
Squats

- Stand with feet hip-width apart.
- Bend your knees and lower your body down as far as it will go while paying attention to keeping your chest as proud as possible. Also keeping your feet flat on the floor.
- For stability, imagine that your feet are pulling the floor apart (this will push your knees out).
- Once you are as low as you can go, squeeze your glutes (bum) and return to the starting position.
You can do this exercise with weight on your back, using a dumbbell, a kettlebell held to your chest, or even without weight (beginner). If you are working out from home you can be inventive and use a backpack with water bottles in it for added weight.
Do 8-12 reps for 3 sets once or twice a week.
Leg Press
This exercise is similar to squats but using a machine. It will be exactly the same movement but rotated into a fixed lying position. Most gyms have this machine.
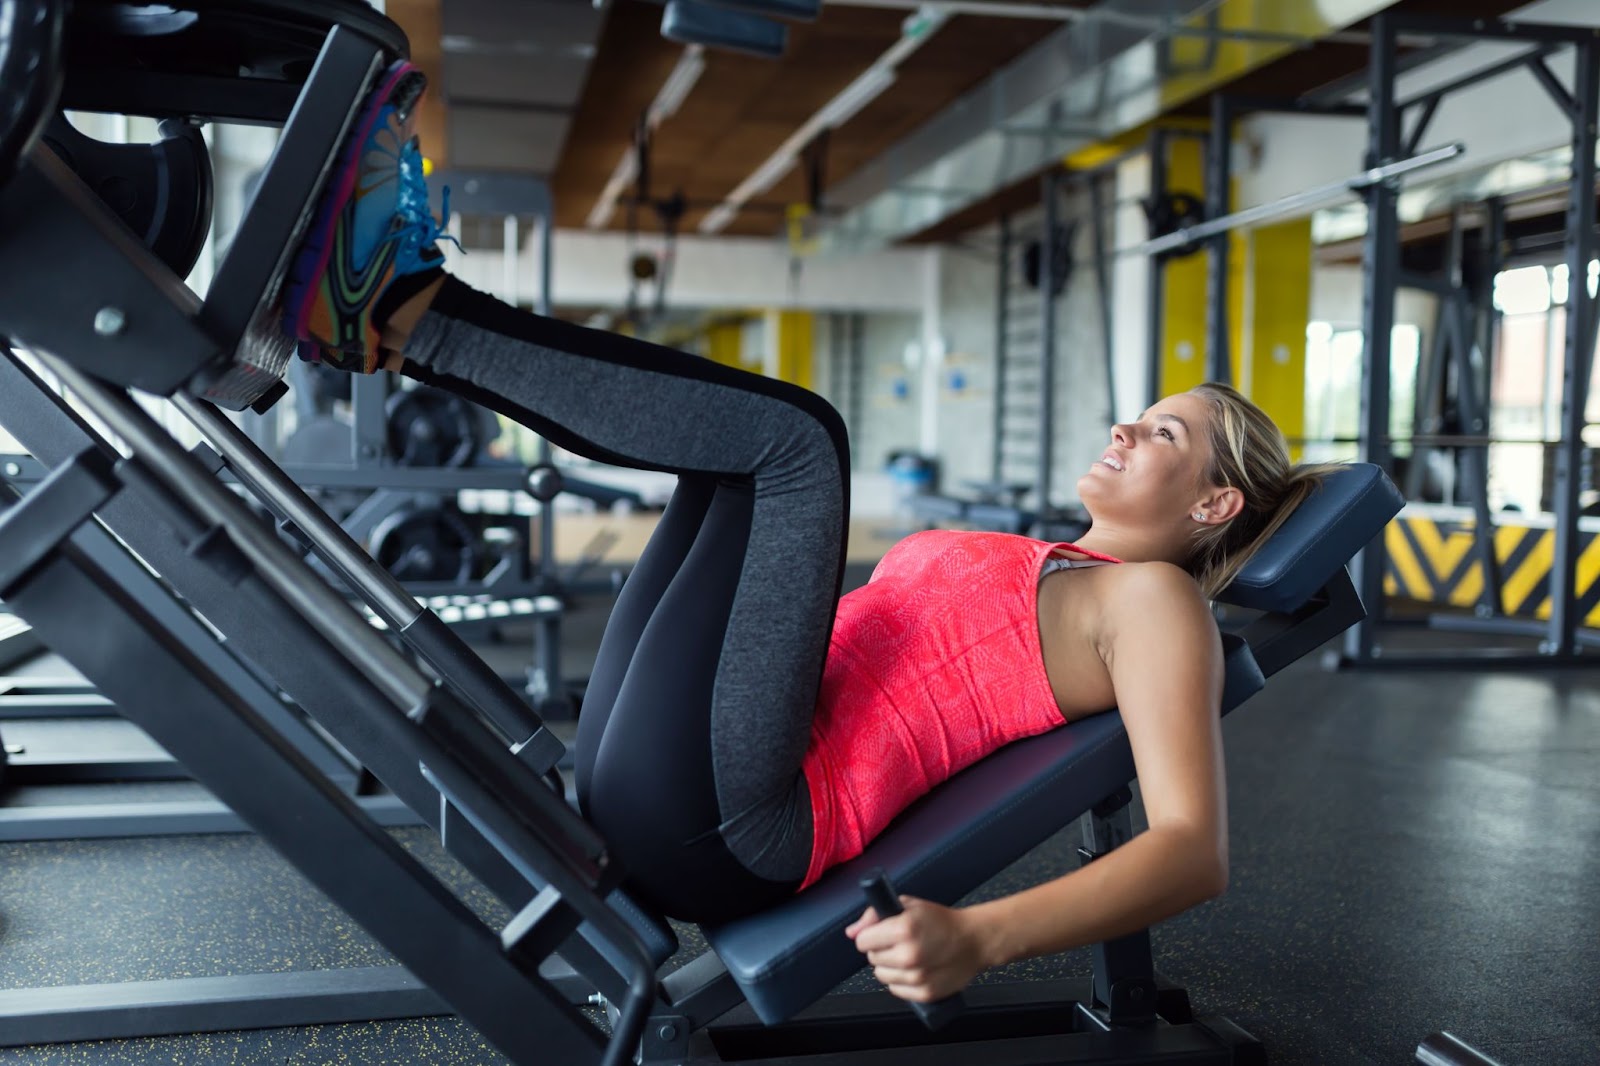
Do 8-12 reps for 3 sets once or twice a week.
Split Squats
Hiking is a single-leg movement – each time you step, you’re stabilising on one leg!
Because of this, it’s important to strengthen single-leg movements.
A split squat is a great way to do this.
- Stand, take one leg back and place your rear knee on the floor. Adjust so there’s a 90-degree angle in that rear knee.
- You may also want to adjust the front foot forwards a bit to get a 90-degree angle there as well.
- This is your starting position.
- Now, thinking about placing around 80% of the weight on your front leg, straighten your front leg, directing your head towards the ceiling.
- Your rear lef will follow naturally.
Keep your chest high, and think about contracting your glutes and quad muscles.
If you want to add resistance, you can hold a dumbbell in each hand by your side.
Do 8-12 reps for 3 sets once or twice a week.
RDLs (Romanian Deadlifts)
An RDL is what we refer to as a hip hinge exercise and is often new to a lot of people who’ve not done gym exercise before.
To get the idea of what it is, stand about a foot away from a wall with your back towards it. Keeping your shins straight and chest proud, hinge forward from the crease of your hips and try to touch the wall with your bum. This is the basic movement. The movement is coming from the front of your hips only.
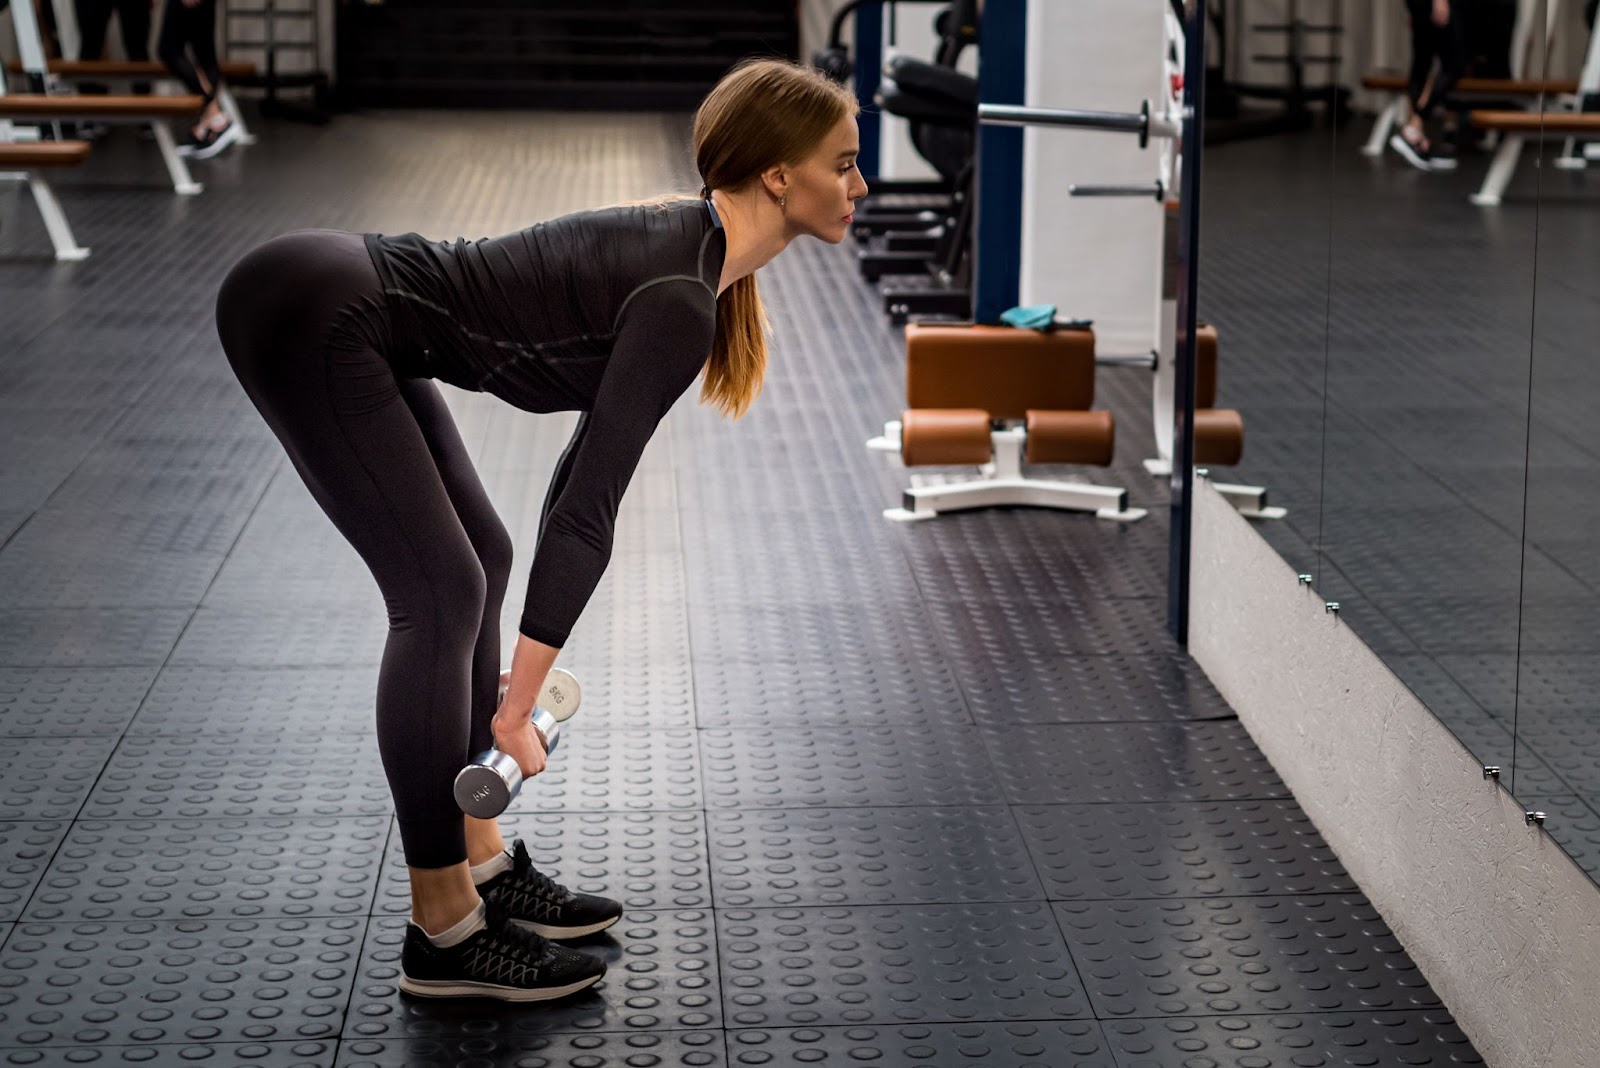
Now, once you have this movement down, you can add weight to it – either dumbbells or a barbell.
- Keep your shins straight and chest proud.
- Holding weight/weights in your hands, hinge at your hips, pushing your bum back.
- Let gravity from the weight pull you down (keep your chest as proud as possible).
- You should feel tension in your hamstrings.
- Once you reach the bottom position, pause for a second.
- Squeeze your glutes to return to the starting position.
Do 8-12 reps for 3 sets once or twice a week.
Wall RDLs
This is exactly the same idea as the standard RDL, however, it is a one-leg exercise.
- You’re gonna stand about a foot away from a wall, facing away.
- Place one foot flat on the wall and press in as hard as you can.
- You may want to adjust your front foot forward or backwards on the floor to a comfortable position.
- Then hinge forward at the hip and push your bum back as you continue to push hard into the wall with your foot.
- At the same time, push hard into the ground with your standing foot.
- Once you go down as far as you can, squeeze your glutes to return to the starting position.
Try to keep the knee of your standing leg as straight as possible. If your hamstrings are tight, it may bend a little.
The first time you do this exercise, do it wighout weight. After that, you can hold a weight in the hand of your standing foot to increase resistance. This movement will challenge you laterally as well as in the forward position, so don’t rush it.
Do 8-12 reps for 3 sets once or twice a week.
Hiking Injury Prevention Exercise Summary
These are some great exercises that you can do to prevent injury when hiking. If you are to do any of them, prioritise the pre-hike mobility and accessory muscle strength exercises. These will give you the biggest “bang for your buck”.
As with all exercises, they can seem a chore to do sometimes, but rather than focusing on them as an obligation, focus on the positive reasons to do them – keeping a strong, healthy hiking body so that you can enjoy walking the trails for years to come.
Why Not To Stretch
A quick note on stretching. Stretching a muscle reduces the contractile strength it has, so you actually become weaker after you stretch. This is not a good thing if your aim is to be as stable as possible. If you are going for a long hike you don’t want to start off by weakening your muscles.
Remember back to the intro where I talked about the order in which your brain cares about things? Your brain sees your nervous system and connective tissue (bones, tendons etc…) as a lot more important because if they are damaged it’s harder to repair them.
Because of this, if you have a restricted nerve somewhere then your body can tighten up muscles around it for protection purposes. The muscles may feel tight and you may want to stretch them. However, not only does this put you at more risk of injury, but your brain probably won’t allow it – have you ever had a muscle that won’t relax however much you stretch it? You see this all the time with runners trying to stretch their hamstrings. They quite likely have nerve restrictions which need sorting out first, and then the hamstrings would relax by themselves.
A Note on Symptoms Over Cause
It’s always important to deal with the body holistically. Where you feel the pain might not be where the problem is. This means that whatever you do to that area may not actually help because you are treating the symptoms rather than cause. Understanding and finding the cause of an issue will give you a long-term fix. A large number of problems come from the hips which is why it’s always a good idea to “bullet-proof” your hips to make them as strong and stable as possible.
Just a quick example to demonstrate this. You can get headaches from sitting too much…Muscles in the hips tighten which pull on fascia in your back, which links into the shoulder joint, which pulls muscles in the neck which can cause a tension headache. Isn’t it amazing how the body works?
Note on Insoles
Insoles and orthotics are popular to deal with “flat feet”. Again we have to consider symptoms over cause here.
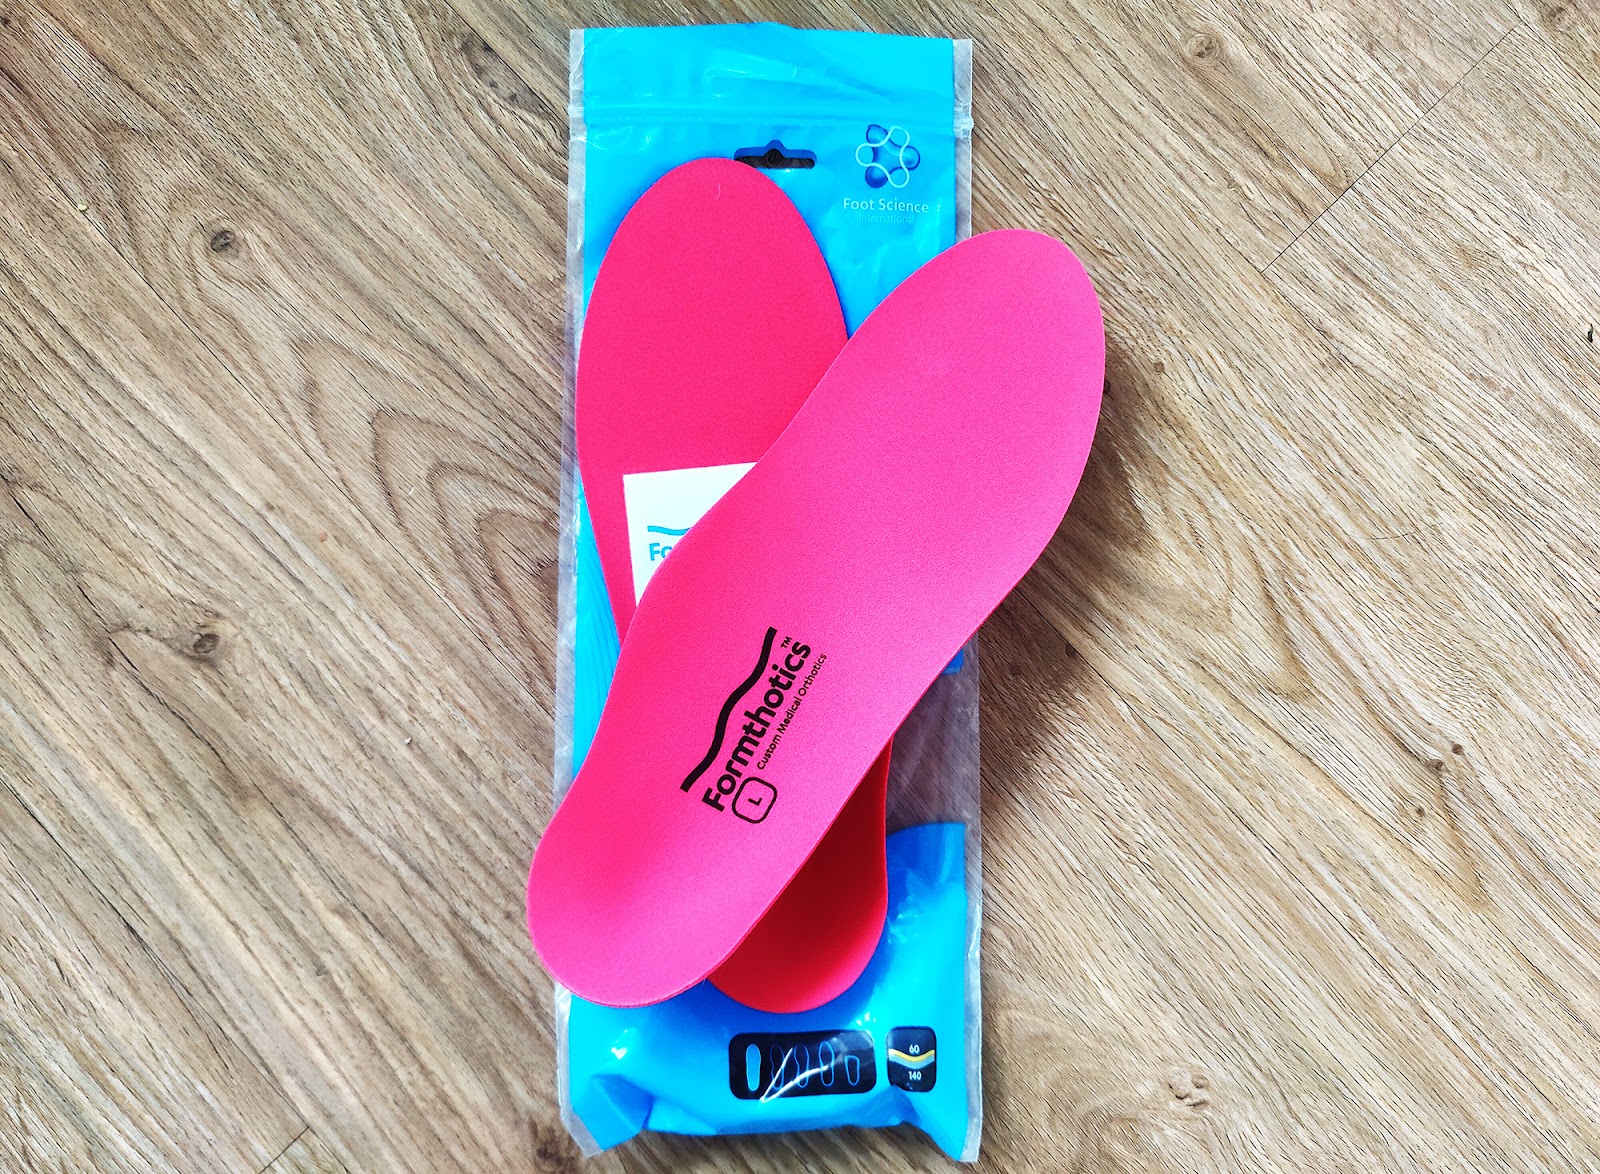
First of all, your feet are meant to flatten as part of your gait cycle. The problem with flat feet is that they don’t return to the position they should be in and end up causing issues because of this.
Flat feet often result from compensations due to tight or weak hip muscles. Because of then being under-used, the foot muscles can then become weak and not do their job (even after “fixing” the hips). Insoles or orthotics do a job to support your feet for more comfort. They also provide stability while in the process of doing exercises to strengthen your foot muscles, but they are a “crutch”. They don’t fix the problem!
Orthotics can also lead to weaker muscles as you’re not allowing the muscles to do their job.
Massage Ball & Therabands
Two great hiking accessories advise people to buy are a solid trigger point massage ball (not the spikey ones) and some resistance bands (therabands). These are both very portable and allow you to do a lot of exercise while on the move, including some of the ones I mentioned above.
For the resistance bands, I suggest getting an adjustable loop fabric one as well.

A Note On Pain
Pain science has moved on a lot in the last few years and we now know that the amount of pain you get is not related to the size of the problem. You can have a serious injury and have no pain (e.g. losing limbs in a war zone), or a tiny injury and feel like it’s the end of the world (paper cut anyone?).
The importance of understanding this is to know that pain is created due to the perceived threat and awareness of the problem rather than how serious the problem actually is. Because of this, you can get issues with pain lingering even after actual damage is gone, or even get pain increasing due to worry about an injury.
Last Words
As I mentioned in the intro, injury is a huge topic and it can be highly specific to a person. As always, prevention is better than cure. Starting a mobility and strength routine, even if for only a few minutes per day is better than nothing – 10 minutes a day adds up to 60 hours over a year!
Also remember that if you have an issue that seems more serious or continues for an extended period of time, always seek advice from a professional that you can speak to in person.
Bio:
Harry Snell is and biomechanics coach who specialises in injury prevention. He’s a keen hiker and traveller and runs the website: outdoorsobsession.com. If you have any questions about anything mentioned in this article, feel free to contact him here.
